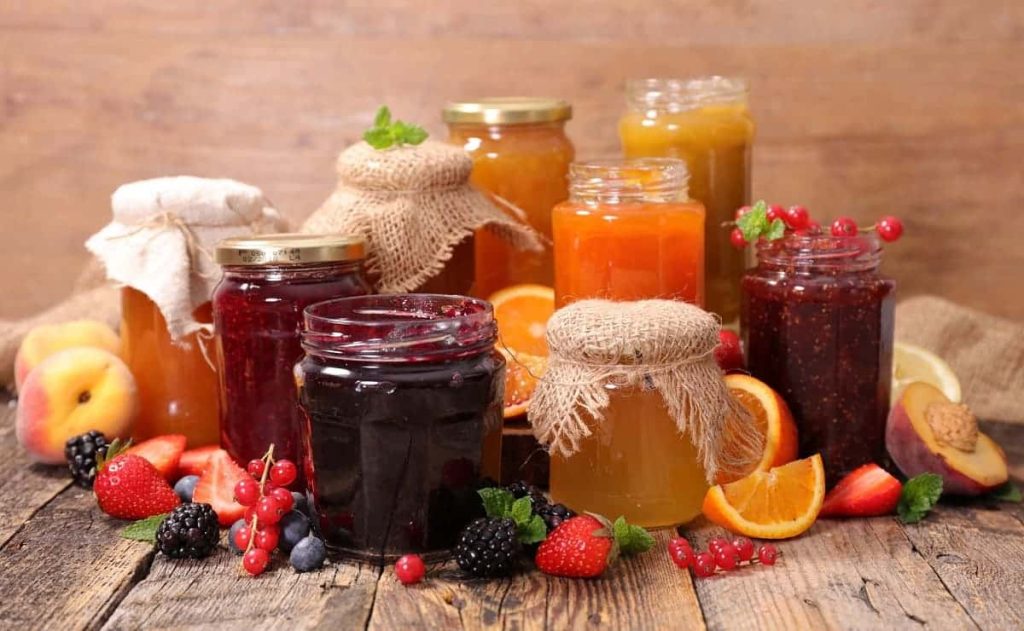
Are you ready to replace plastic containers with glass? Let us tell you that you have made an excellent decision. And not only because it is kinder to the environment to recycle them! I don’t know if you knew it, but glass jars are more hygienic, and what is stored in them does not stick, which is great for storing dressings or creams and makes cleaning them simple and quick.
However, to enjoy delicious homemade jams, homemade preserves, or any other food you wish to store inside (herbs, cereals, nuts), the container must be as sanitized and disinfected as possible. Today we want to show you how to clean and sterilize glass jars to prevent the growth of bacteria responsible for cross-contamination and ensure they will last much longer. Pay attention!
How to clean dirty glass jars
Before doing anything, the main thing is to clean it. If it is new, it will be simpler, but if it is old, it requires a deeper cleaning to remove dirt, scale, and all traces of grime from the inside.
There are many alternatives for cleaning and disinfecting glass containers, and most are affordable, easy, and environmentally friendly. The most recommended are traditional dishwashing soap, with white vinegar or vinegar and salt. See how each method works:
- Vinegar: This is the disinfectant cleaner of choice due to its composition with a high level of acetic acid, capable of softening grease and scale in minutes. Just pour a little into the bottle and rub the inside and outside of the jar or glass bottle until the stuck dirt comes out, then rinse well and let it dry.
- Dishwashing soap: if the dirt is not so strong and they are only stains or remains of adhered food, liquid soap will be enough. Pour a little into the bottle or container and add a little water, scrub with a sponge vigorously -if it does not reach, scrub with a bottle brush-, rinse and let the bottle dry.
- Vinegar and salt: This is another excellent technique and very simple to carry out, you only need to pour a cup of water, half a cup of vinegar, and two tablespoons of salt. Close the bottle and shake vigorously, then rinse and turn upside down to dry.
How to sterilize glass jars: the traditional method
Once you have cleaned the bottle by following any of the above procedures to kill all germs and microorganisms that are found on the surface, it is vital that a thorough process of sterilizationAlthough it is very easy. Relatively fast, it is strict so that it does not impact health.
Follow these steps and do not miss any detail; remember to do it as it is and try not to take them directly with your hands after sterilizing them:
- Place the jars and their lids in a deep pot and cover them with cold water.
- Put them on the fire until the water starts to boil.
- Once it has boiled, wait 15 minutes for the high temperatures to do their thing.
- With tongs -previously sterilized-, take them out of the pot and let them rest on paper napkins -taking care that they do not come into contact with anything else-.
- Finally, place the jam, sauce, or dressing inside while still hot or warm (to vacuum seal) and cover with the help of tongs and paper napkins so as not to touch them directly when closing them.
- To finish sealing, take the jars filled and tightly closed to the pot and let them boil for 10 minutes, but this time, lower the flame and place a rack under the pot so that the heat is not so excessive and the preserves cook.
- Finally, let them rest on a clean napkin for 24 hours. And don’t move them during this time!
How to sterilize glass jars in microwave oven
If you don’t want to boil them and need to sterilize jars quickly, this is an ideal alternative:
- Wash the jars and lids well and fill the jar more than half full with water.
- Place it in the microwave and turn it on full power for 3 to 5 minutes.
- After this time, remove them with handles so as not to burn yourself, empty them and place them face down on a clean paper napkin.
- Don’t forget to fill them while the jam is hot!
Note: Keep in mind that if the lids of the jars are metallic, you cannot heat them in the microwave, so it would be adequate to boil them in a pot with water as in the previous method.
Another good option to sterilize glass jars without boiling is to use any conventional preheated oven, arrange the lids and pots on a baking tray and take them inside for 20 minutes, then turn it off and take them out just when they are going to be packed.
We hope we have helped you solve your doubts about sterilizing and filling jams or preserves.Can you already see that it is easier than you thought?
